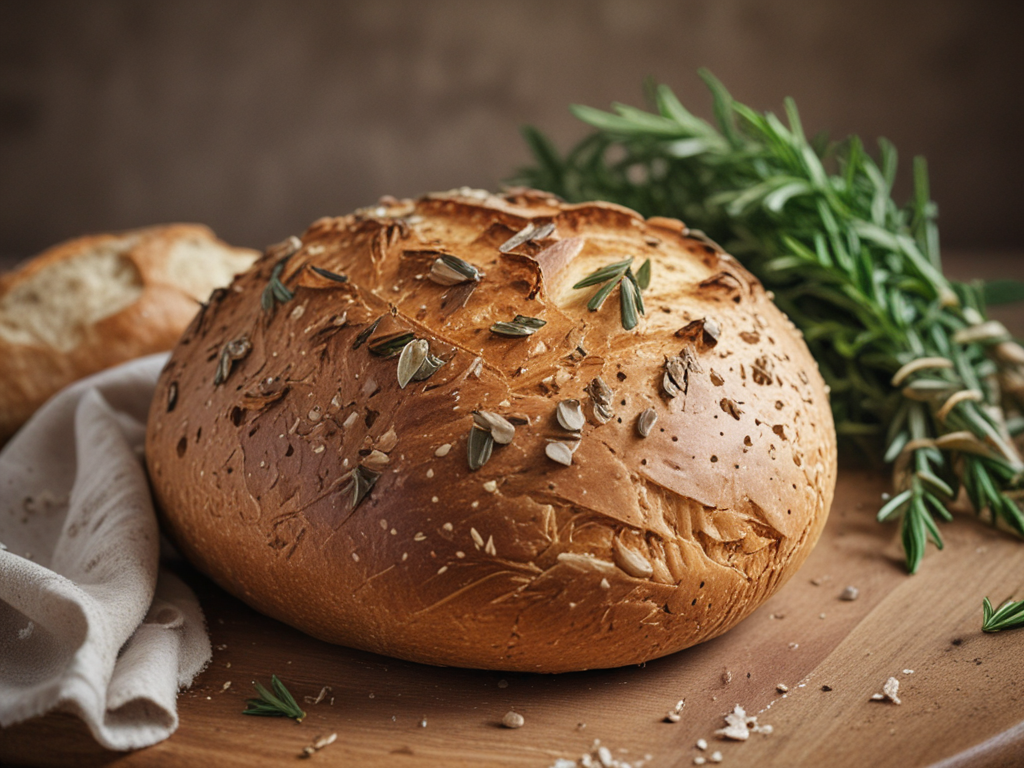
Perfecting the process of producing your own artisan bread begins with precise planning and patient practice. From selecting the essential ingredients to mastering the art of shaping and proofing the dough, each step demands dedication. Understanding the science behind the bread-making process is key to achieving that coveted crispy crust and airy crumb. Join me as we uncover the secrets to creating bakery-quality loaves right in your own kitchen.
Essential Ingredients for Artisan Bread
When crafting artisan bread, understanding the essential ingredients is paramount to achieving the desired texture and flavor profile. Flour types play a critical role in bread-making. Different flours like all-purpose, bread flour, whole wheat, or rye can offer various textures and flavors to the final product. Yeast varieties also contribute greatly to the bread’s character. Whether using active dry yeast, instant yeast, or fresh yeast, each type affects the fermentation process differently, influencing the bread’s rise and taste.
Water temperature is another important factor. The temperature at which you mix the water with the other ingredients can impact the yeast’s activity and the dough’s development. It is essential to use water that is lukewarm to the touch, typically around 110°F, to activate the yeast effectively.
Understanding the Bread-Making Process
Understanding the bread-making process involves a series of precise steps that culminate in the creation of a delicious loaf of artisan bread. It all begins with yeast activation, a critical step where the yeast is awakened by warm water and a food source like sugar. This process allows the yeast to start consuming sugars and producing carbon dioxide, which creates the airy texture we love in bread. After yeast activation, the dough goes through fermentation stages. During this period, the yeast continues to feed on sugars, producing more carbon dioxide that makes the dough rise. Fermentation also develops the flavor of the bread as the yeast interacts with the flour. Understanding these stages is essential as they directly impact the final texture and taste of your artisan bread. By mastering the yeast activation and fermentation processes, you set the foundation for creating a beautifully crafted loaf that will delight your taste buds.
Mixing and Kneading the Dough
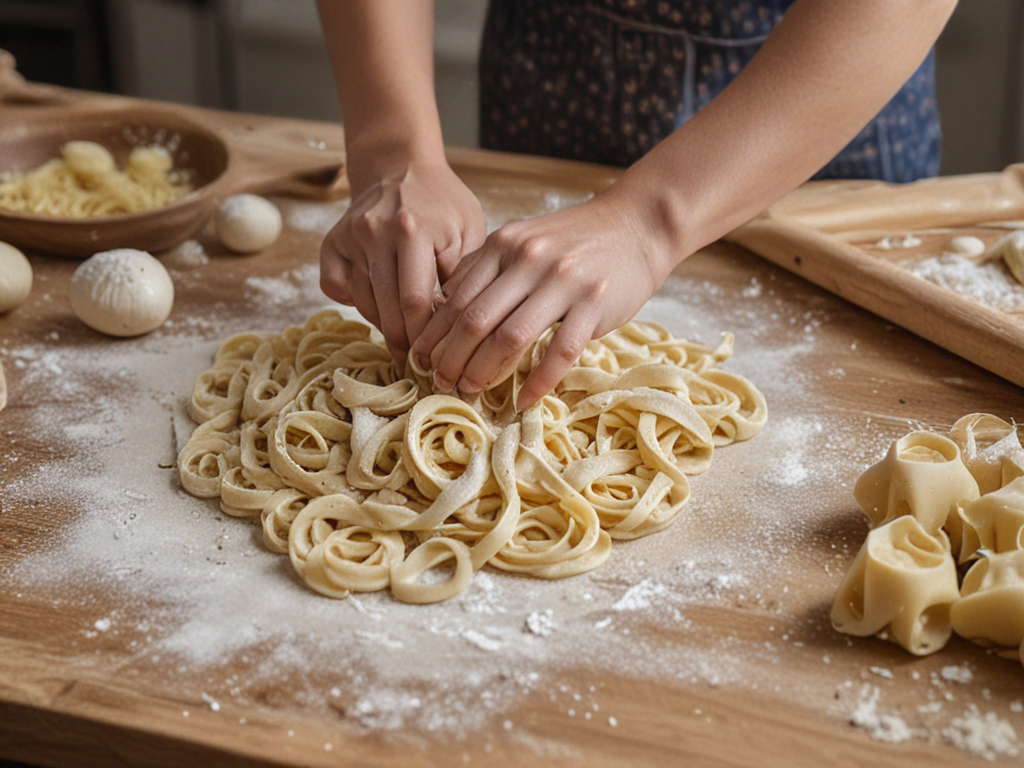
To progress in the bread-making journey, we now focus on the pivotal stage of mixing and kneading the dough, a fundamental process that shapes the foundation of your artisan bread. Achieving the right dough consistency is essential for a successful loaf. The dough should be smooth, slightly tacky, and elastic when properly kneaded. Here are some essential kneading techniques to guide you in this process:
| Kneading Technique | Description |
|---|---|
| Folding | Lift one end of the dough, fold it over itself, then push down and away with the heels of your hands. |
| Push and Turn | Push the dough away from you with the heel of your hand, give it a quarter turn, and repeat. |
| Stretch and Fold | Stretch the dough, fold it over, then push down and away. Repeat this process rhythmically. |
In case you encounter sticky dough during kneading, lightly dust your hands and the work surface with flour. Avoid adding too much flour, as this can alter the dough’s consistency and affect the final texture of your bread. Mastering these kneading techniques and troubleshooting sticky dough will set you on the path to creating delicious artisan bread.
Shaping and Proofing the Bread
Upon achieving the ideal dough consistency through proper kneading, the next essential step in the artisan bread-making process is shaping and proofing the bread. Shaping techniques play a critical role in determining the final look and texture of the bread. Techniques such as rolling, folding, and pre-forming help develop the structure of the loaf. The fermentation time during shaping is important as it allows the dough to relax and develop flavor.
Proofing methods are equally important in achieving a light and airy crumb. Proper proofing guarantees that the dough rises to its full potential before baking. Factors like temperature, humidity, and dough hydration greatly influence the proofing process. Understanding how to create the ideal environment for proofing will result in a well-risen and flavorful loaf.
Mastering the art of shaping and proofing takes practice, but the freedom to experiment with different techniques and timings will lead to the creation of beautiful artisan bread that is both delicious and visually appealing.
Baking Your Artisan Bread
When baking artisan bread, it is important to have essential tools like a baking stone and a spray bottle for steam. Proper dough handling techniques such as gentle shaping and careful scoring can greatly impact the final product’s texture and appearance. Maintaining precise oven temperature control throughout the baking process guarantees an evenly baked loaf with a crispy crust.
Essential Baking Tools
While selecting the essential baking tools for crafting artisan bread, make sure that each item is of high quality and well-maintained to contribute to successful baking outcomes. Baking techniques like bread making require precision, and having the right tools can make a significant difference. A digital kitchen scale is important for accurately measuring ingredients, especially when dealing with dough hydration levels. A quality dough scraper aids in handling and shaping the dough during the various stages of the baking process. A Dutch oven or baking stone helps create the perfect crust and crumb by regulating the oven’s heat distribution. Additionally, a sharp bread lame is necessary for scoring the bread before baking, allowing proper expansion during the baking process. Each of these tools plays an essential role in achieving excellent results when baking artisan bread.
Proper Dough Handling
To achieve exceptional results when baking artisan bread, it is important to master proper dough handling techniques. Two vital aspects to focus on are dough hydration and shaping technique. Dough hydration refers to the amount of water in the dough relative to the flour. Getting the right balance is key to achieving the desired texture and crumb structure in your bread. When it comes to shaping technique, gently handling the dough helps with gluten development and creates a uniform loaf. Additionally, consider the fermentation time; allowing the dough to ferment properly contributes to flavor development. Remember, each step in dough handling plays a significant role in the final outcome of your artisan bread.
| Dough Hydration | Shaping Technique |
|---|---|
| Balance water and flour | Handle dough gently |
| Achieve desired texture | Aid in gluten development |
| Important for crumb structure | Create a uniform loaf |
Oven Temperature Control
Mastering the art of artisan bread baking requires precise control of oven temperature to achieve the perfect crust and crumb texture. When it comes to baking your artisan bread, here are some essential tips to make sure your oven temperature is just right:
- Oven Preheating: Always preheat your oven before placing the bread inside to make sure even baking and a beautiful crust.
- Troubleshooting: Monitor your oven temperature with an oven thermometer to address any discrepancies and make adjustments accordingly.
- Baking Stone: Place a baking stone in the oven while preheating to create a consistent heat source that mimics a professional bread oven.
- Steam Technique: Introduce steam into the oven during the first few minutes of baking to help develop a crispy crust and enhance the bread’s rise.
Tips for Perfecting Your Loaves
For achieving excellent results when making artisan bread, one must pay careful attention to the temperature of the ingredients to guarantee proper fermentation and rise of the dough. Maintaining an ideal temperature during the mixing and proofing stages is important for achieving a perfect crust texture and flavor development in your loaves. To make a crispy crust, preheat your oven adequately and consider using a baking stone or steam during the baking process. Flavor development can be enhanced by allowing the dough to ferment slowly in the refrigerator overnight. Additionally, using high-quality ingredients such as organic flour, sea salt, and filtered water can have a significant impact on the taste of your bread. Experimenting with different hydration levels and flour combinations can also help you achieve a unique and delicious flavor profile. By paying attention to these details and honing your techniques, you can consistently produce artisan loaves that are both visually appealing and a delight to the taste buds.


