Have you ever felt the allure of a warm, crusty loaf of sourdough bread fresh from your own oven? The journey towards mastering the art of homemade sourdough is not merely a culinary endeavor but a transformative experience. As we explore the intricate steps involved in harnessing the power of wild yeast, each stage unfolds a world of flavor and texture waiting to be uncovered. Join me as we navigate through the complexities of sourdough baking, from cultivating a robust starter to achieving that perfect tangy crumb – a journey that promises to elevate your bread-making skills to new heights.
Getting Started With Sourdough Starter
To successfully initiate your sourdough bread-making journey, the first essential step is to establish a vigorous sourdough starter. Sourcing quality flour is pivotal for the success of your starter. Look for organic, unbleached flour, as it contains more natural yeast and nutrients, ideal for fermentation. In troubleshooting fermentation issues, the type of flour used can greatly impact the activity of the starter. Whole grain flours, such as rye or whole wheat, can provide a richer environment for the wild yeast to thrive.
When encountering fermentation problems, consider adjusting the water-to-flour ratio or the temperature of the environment where the starter is kept. Sometimes, starters may need a few extra days to mature properly. Patience and observation are key. Additionally, maintaining a consistent feeding schedule and ensuring proper aeration can also aid in fostering a healthy fermentation process. By carefully selecting quality flour and attentively monitoring the fermentation process, you will be on your way to a successful sourdough starter.
Feeding and Maintaining Your Starter
Establishing a robust sourdough starter sets the foundation for successful bread-making; now, let’s explore the meticulous process of feeding and maintaining this living culture.
To guarantee a healthy and active sourdough starter, proper feeding and maintenance are essential. Here is a simple feeding schedule to keep your starter thriving:
| Day | Feeding | Starter Amount | Storage |
|---|---|---|---|
| Day 1 | 1:1:1 ratio of flour, water, and starter | 100g | Room temperature |
| Day 2 | 1:1:1 ratio of flour, water, and starter | 100g | Room temperature |
| Day 3 | 1:1:1 ratio of flour, water, and starter | 100g | Refrigerator |
| Day 4 | 1:1:1 ratio of flour, water, and starter | 100g | Refrigerator |
Mixing and Fermenting the Dough
In the process of mixing and fermenting the dough for sourdough bread, precise measurements and careful timing are essential to achieving the best flavor and texture. When mixing the dough, consider the hydration levels carefully. The hydration level refers to the ratio of water to flour in the dough. Higher hydration levels result in a more open crumb structure and a chewier texture. Adjusting hydration levels can be a personal preference, but generally, a hydration level of around 75-80% works well for sourdough bread.
Fermentation timeframes are IMPORTANT in developing the complex flavors of sourdough. The fermentation process allows the dough to develop its characteristic tangy taste and airy texture. Typically, sourdough dough requires a longer fermentation period compared to commercial yeast bread. Depending on factors like room temperature and the activity of your starter, fermentation times can vary. A good rule of thumb is to let the dough ferment at room temperature for around 4-12 hours, or until it has visibly risen and developed a bubbly appearance. Experimenting with different fermentation timeframes can help you find the perfect balance of flavor and texture in your sourdough bread.
Shaping and Proofing the Loaf
Shaping and proofing the loaf is an essential stage in the sourdough bread-making process, ensuring the final product has the desired structure and texture. When shaping the dough, gently stretch it into a rectangle, then fold the sides to the center and roll it into a tight log. This process helps create tension on the surface, promoting good crust development during baking.
Proofing, or the final rise of the shaped dough, is important for developing texture and crumb structure. Allow the dough to proof in a well-floured banneton or a cloth-lined bowl to maintain its shape and prevent sticking. Pay attention to the dough’s appearance and touch to determine when it’s adequately proofed.
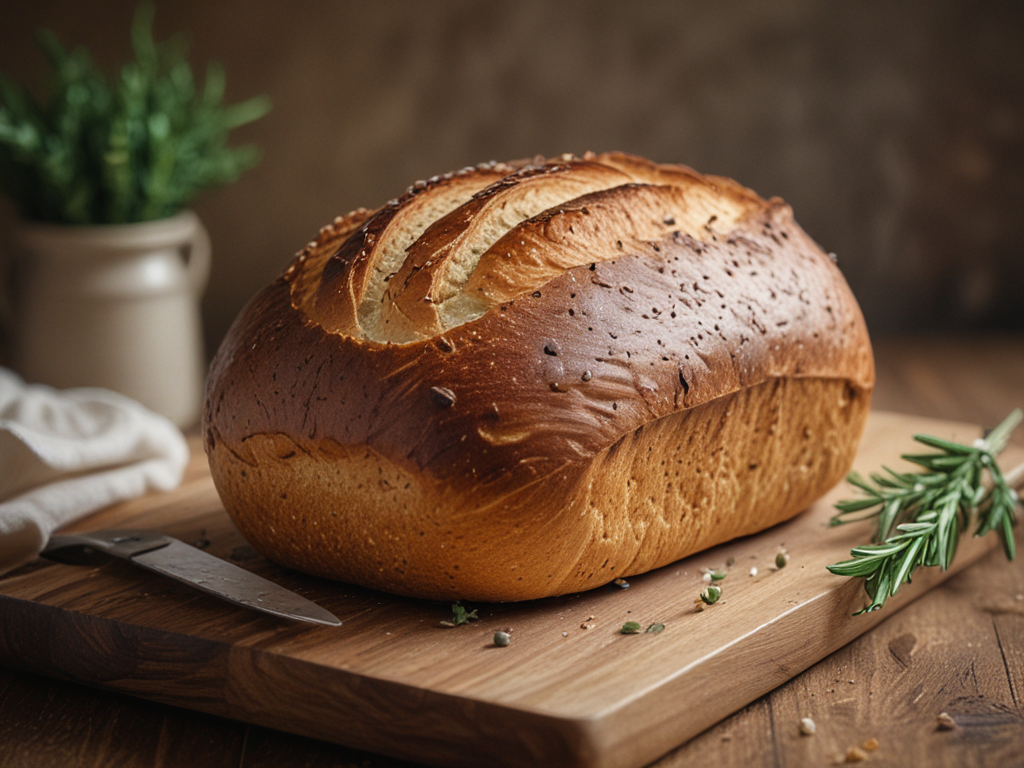
Before baking, consider scoring the dough by making shallow cuts on its surface. This not only adds a decorative touch but also helps control the expansion of the loaf during baking, leading to an even rise and an appealing final shape. Mastering these techniques will enhance the quality and appearance of your homemade sourdough bread.
Baking and Enjoying Your Sourdough
When preparing to bake and savor your homemade sourdough, meticulous attention to oven temperature and timing is essential for achieving a perfectly golden crust and a well-developed flavor profile. Here are three critical tips to contemplate for baking and enjoying your sourdough:
- Master Your Oven: Understand your oven’s unique characteristics. Preheat it adequately and use a baking stone or Dutch oven to create a consistent heat environment for the best bread baking.
- Experiment with Baking Techniques: Try different scoring patterns on the dough to control the bread’s expansion during baking. Additionally, consider using steam in the oven for a crispy crust and moist interior.
- Enhance Flavor Profiles: Explore various flour combinations and fermentation times to customize the flavor of your sourdough. Factors like hydration levels and proofing temperatures can also influence the taste of the final product.


